

Encountering the "Ethernet doesn't have a valid IP configuration" error on Windows can be frustrating, but there are several troubleshooting steps you can take to resolve it:
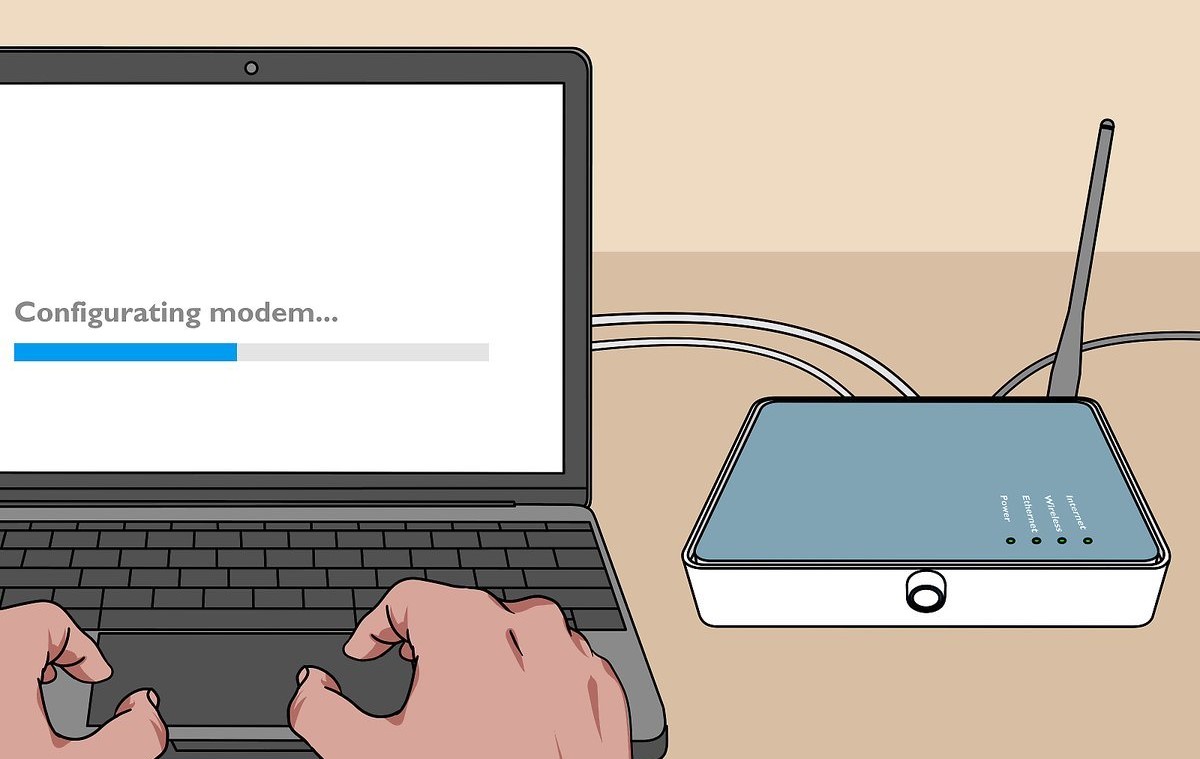
1. Restart Your Computer and Router*: Sometimes, a simple restart can resolve temporary network issues. Turn off your computer and router, wait for a few minutes, then turn them back on.
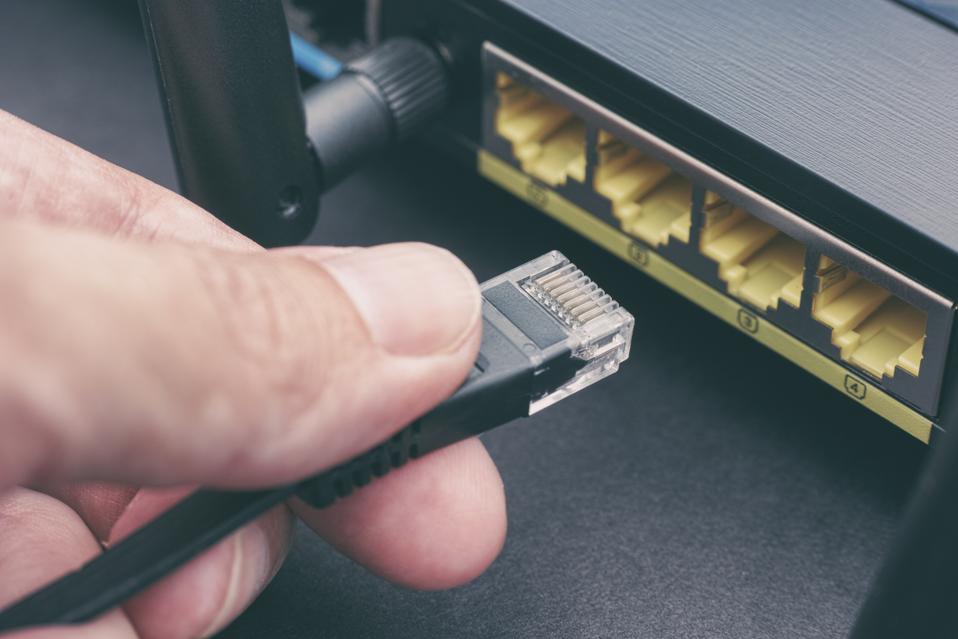
2. Check Ethernet Cable Connections* Ensure that the Ethernet cable is securely connected to both your computer's network port and the router or modem. Try using a different Ethernet cable if possible.
3. Reset TCP/IP Stack : Open Command Prompt as an administrator (search for "cmd" in the Start menu, right-click on Command Prompt, and select "Run as administrator"), then type the following commands one by one and press Enter after each:
```
netsh winsock reset
netsh int ip reset
ipconfig /release
ipconfig /renew
```

4. Set IP Address Automatically : Sometimes, manually assigning an IP address can cause conflicts. Ensure that your network adapter is set to obtain an IP address automatically:

- Right-click on the network icon in the system tray and select "Open Network & Internet settings."
- Click on "Change adapter options."
- Right-click on your Ethernet connection and select "Properties."
- Select "Internet Protocol Version 4 (TCP/IPv4)" and click on "Properties."
- Ensure that both "Obtain an IP address automatically" and "Obtain DNS server address automatically" are selected.
- Click "OK" to save the changes.
5. Update Network Adapter Drivers*: Outdated or incompatible network adapter drivers can cause this error. Visit the website of your computer's manufacturer or the network adapter manufacturer to download and install the latest drivers for your network adapter.

6. Disable and Enable the Network Adapter:
- Right-click on the network icon in the system tray and select "Open Network & Internet settings."
- Click on "Change adapter options."
- Right-click on your Ethernet connection and select "Disable."
- After a few seconds, right-click again and select "Enable."

7. Run Network Troubleshooter: Windows includes a built-in network troubleshooter that can help diagnose and fix common network problems. To run it, go to Settings > Update & Security > Troubleshoot, then select "Internet Connections" and follow the on-screen instructions.

8. Check Router Settings : Ensure that your router's DHCP settings are properly configured to assign IP addresses to connected devices automatically.
If none of these steps resolve the issue, there may be a more complex network problem that requires further investigation or assistance from your internet service provider or a professional technician..
No comments:
Post a Comment